To Meme or Not to Meme, That Is the Question
July 14, 2024 | Categories: coding
MemeMaster 📸🖼
My students (like many or most people) love the memes they find on the web and every year at the end of the (Teacher and Student) course when I tell them that we are going to make a meme making app they get VERY excited! We work through the MemeMaker project (the project can be found in Unit 4 starting on page 384 in the Develop in Swift Explorations Student book and starting on page 589 in the Teacher Guide), the students enjoy the lesson and making the project, and then inevitably, every year they say, "What else can we do with?" They also say, "Why can't I do anything with my picture?" and "I wish I could do something with the picture." and "How can I use my picture?" I have gotten these questions and comments for three years. So, for my current junior (11th grade in the US) class I wanted to have something ready for them when they asked those questions. So, during quarantine I set out to work on a project to take the current MemeMaker project and add three pieces of functionality to it:
1. The ability to import pictures from the user's Photo Library
2. The ability to save the current meme to Photos.
3. The ability to share the current meme via the system Share Sheet.
The MemeMaster project is the result. It takes my students current MemeMaker app and adds those three features to it. I built it with my seniors this year, since they had made the MemeMaker app last year before we went into lockdown last spring and now I am ready to teach this project to my current juniors next December in the week before Winter Break. The week before Winter Break is typically a difficult time to keep students focused and learning in my district. So, this project will give me a fun and interesting way to keep my students focused and learning for as long as I can.
Background 👩🏼🎓 🧑🏿🎓 👨🏽🎓 👩🏻💻 👨🏾💻
This project works under the assumption that you or your students have built the Rock Paper Scissors app using Apple's Develop in Swift Explorations course. So, if you have not done that already you will need to go and do that before creating this app because it adds further functionality to the original MemeMaker app. I think this project can be done after you and your students have worked through the entire Develop in Swift Fundamentals (Teacher and Student) course. I used this project as a fun way to wrap up the Fundamentals course with a fun update to an app we had previously made.
This project also gives me yet another opportunity to teach versioning, software iteration, and the software development process. The project also gave me the opportunity to introduce a new framework: CoreImage and all of the work it takes to research and implement new functionality. I think it is important for students to at the very least get as much practice as possible implementing Apple frameworks into a project. The MemeMaster project enables me to give my students an introduction to picking, editing, and manipulating images, which is one of the most popular features of many of the most popular iOS apps.
Purpose 🖥 💻 📱 📸 🖼
The general purpose of this project is to add functionality to a very, very basic app so that it becomes more useful and to introduce students to the CoreImage Framework, adding to the Property List, and working with images and the Photo Library on an iOS device in general. Additionally, this project provides me another chance to teach my students to the process of software improvement and iteration by taking some software they created and adding functionality to it. In doing this I am also able to review the concepts of software versioning and using GitHub for software creation, versioning, and the proper (and safe) way to iterate on software using branching and merging. If you are going to do this project individually or with your students, I am going to make the assumption that you have access to Mac hardware and, just as important, Apple first-party software such as Keynote, Preview, and Pages.
Process 👩🏾🏫 👨🏻🏫 👨🏻💻 👩🏽💻
The general process and flow of this project is in the format of an Apple Teacher Portfolio lesson. There are three parts/phases to the lesson
- Activate
- Explore
- Apply You can learn more about and sign up for Apple Teacher here: Apple Teacher.
Activate
We want our students to activate any prior knowledge on the topic. Since the students have previously made the MemeMaker app, they will all have the starting point of the project. However, the goal of the project is to greatly improve the app and enable the user to use their own photos to create a meme. Here is the activity I use with my students:
- Take a selfie.
- Open Keynote and pick a basic white or basic black project.
- Insert your selfie into the slide, adjust the size of the picture so that it covers the entire slide.
- You can adjust the transparency level of the picture to mimic a filter feature.
- Add a text box to the top and bottom of your slide.
- Add phrases of your choosing to your textbooks.
- Think, pair, share with a partner about how easy it was to make your meme and how we could make the process of making the meme easier
Explore
Students will now create a prototype of a meme making app.
- Open Keynote.
- We are going to prototype a meme making app.
- Set the slide background color to be the same color you would have for a meme making app that you would build.
- Search shapes for a phone. Drag the iPhone onto the screen and resize it so that it is the full height of the slide.
- Use elements in the Shape section and text boxes to create your meme app prototype. Be sure to include your meme from the Activate lesson as the example meme for your prototype.
Apply
In this part of the project we build the app. You can find the entire project in a GitHub repo here. You can see screencasts of the process to make the app below.
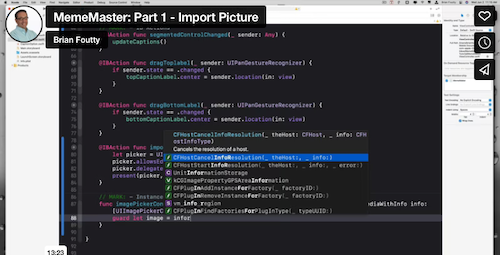
MemeMaster - Part 1 - Import Pictures screencast on YouTube
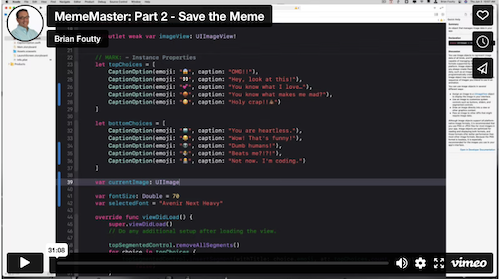
MemeMaster - Part 2 - Save the Meme screencast on YouTube
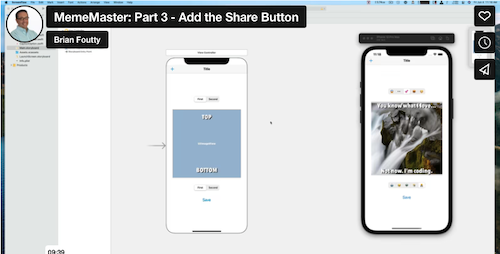
MemeMaster - Part 3 - Add the Share Button screencast on YouTube